How to Open A Good ODM Keyboard Mold in 8 Steps
by Apple on Sep 16th 2021
Everyone who has done keyboard ODM case knows that the success or failure of the case is directly determined by the good or bad mold, which determines whether the subsequent smooth production and sales. Likewise, being familiar with and in control of the mold opening process and other details will give you more leverage during the initial negotiations and will play an important role in controlling the progress of the ODM case later.Now let's go through the following 8 steps to understand how to open a good keyboard mold.
Mold production process contains:1.Mold steel material preparation——2.Rough machining ——3.Semi finishing ——4.Heat treatment finishing ——5.Cavity surface treatment ——6.Mold polishing——7.Mold assembly——8.Injection mold testing
1.Mold steel material preparation
Our company mostly choose NAK80 pre-hardened plastic die steel, NAK80 is the patented steel of Datong Steel Co. , Ltd. (the famous Japanese Mold Steel supplier in the world). The hardness can reach hrc37-43 and with good polishing performance, suitable for surface treatment of high demand products mold, such as home, car, camera, computer products mold. Use NAK80 grinding tool steel processing mold, the product surface is more fine, easy to achieve mirror or polishing effect.
According to the design, cut the metal material into the approximate shape and size which the mold need. Mold splitting : Front mold, mold core and back mold.
3. Semi finishing
According to the design of the components on the machine operation line cutting, drilling, and so on, at this stage, mold structure roughly complete

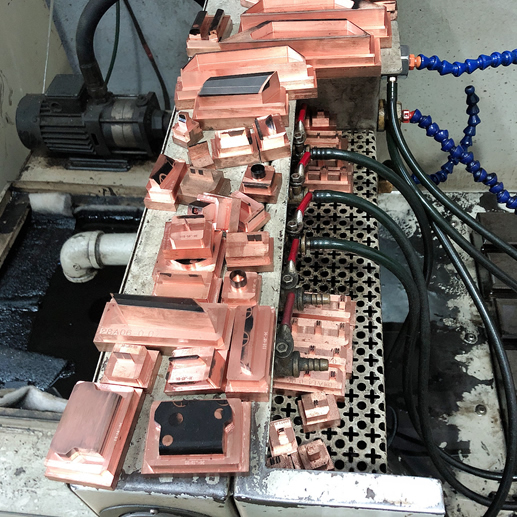
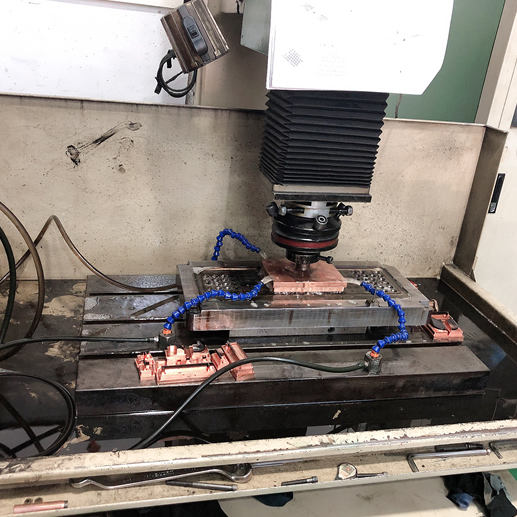
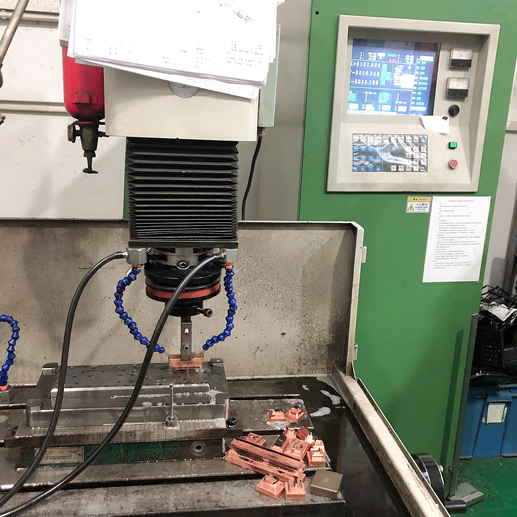
Electrical discharge machining, which etches the material by electrical discharge to obtain the required complex mold surface, such as sinking surface, cambered surface , special face etc.
By etching the surface of the mold cavity, the surface of the plastic product has the effect of ornamentation, coarse grain, fine grain or mirror surface
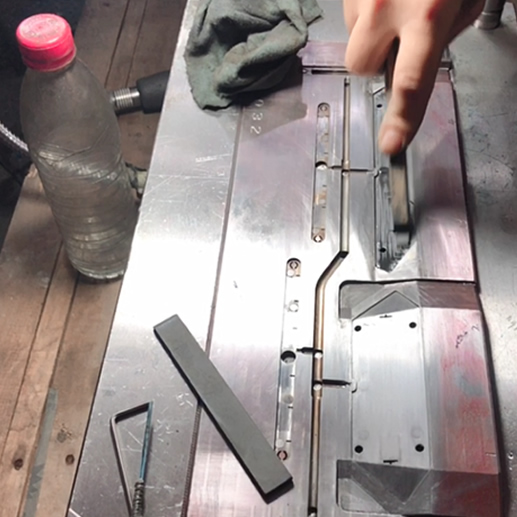
By using sand paper,oil stone and other tools on the mold parts processing, so that the mold surface can be smooth, and the product is easy demoulding, to speed up the production efficiency and extend mold life
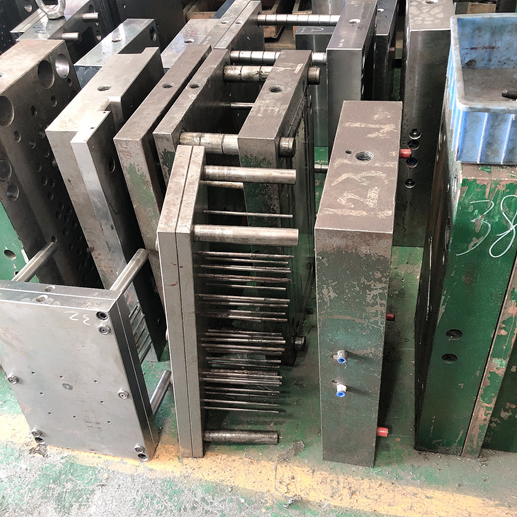
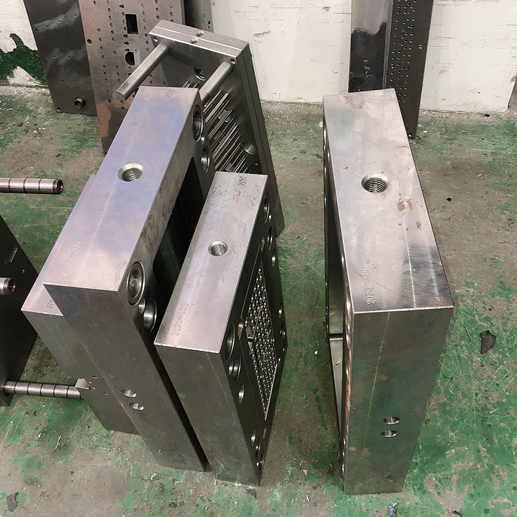
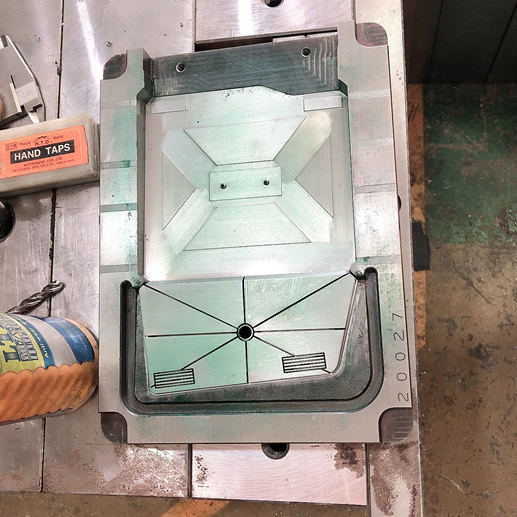
Assemble the whole set of mould, Front mould, back mould and mold core according to the design , and prepare to be installed on the injection machine
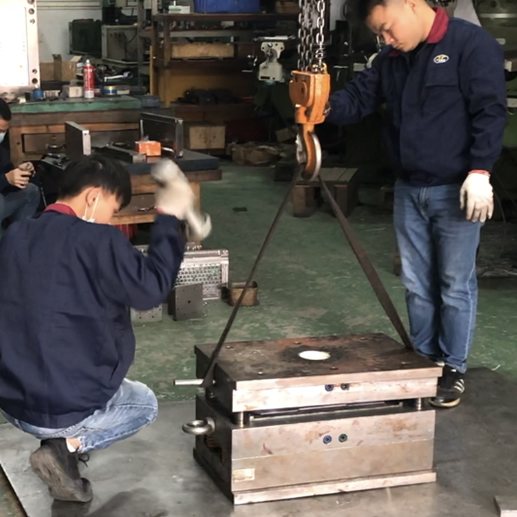
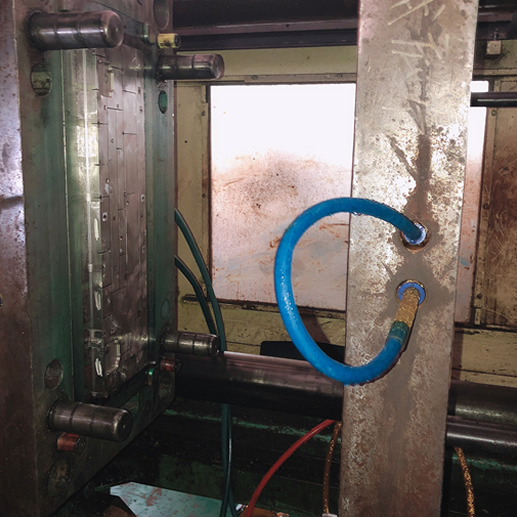
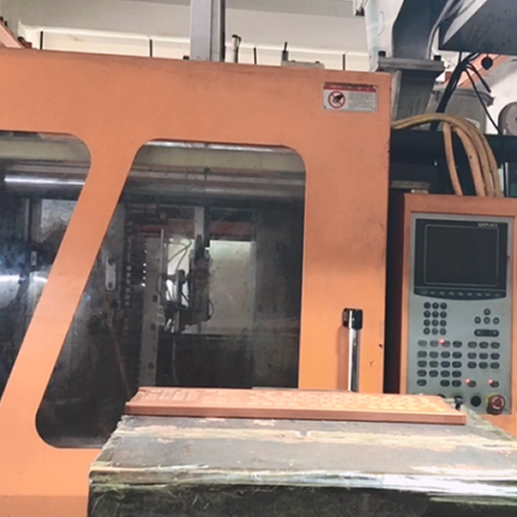
Assemble the mould on the injection molding machine to check whether it’s working smoothly